(optional) Initialize USB Storage
This section will describe how format the USB storage drive and put the BusKill software on it.
Note
The BusKill software cannot run on the USB drive. It must be run from your computer.
As such, this is an optional step. It’s documented here as a guide for how Alt Shift International prepares the USB Storage Drives when selling BusKill kits to customers. Having the software on the USB drive simply makes it easier for the end-user (so they can just copy the software from the USB drive to their computer instead of downloading it from the Internet).
If you’re building a BusKill cable for your own use, you should probably skip this step and just Download the app.
Windows 10
Step 1: Assemble Cable
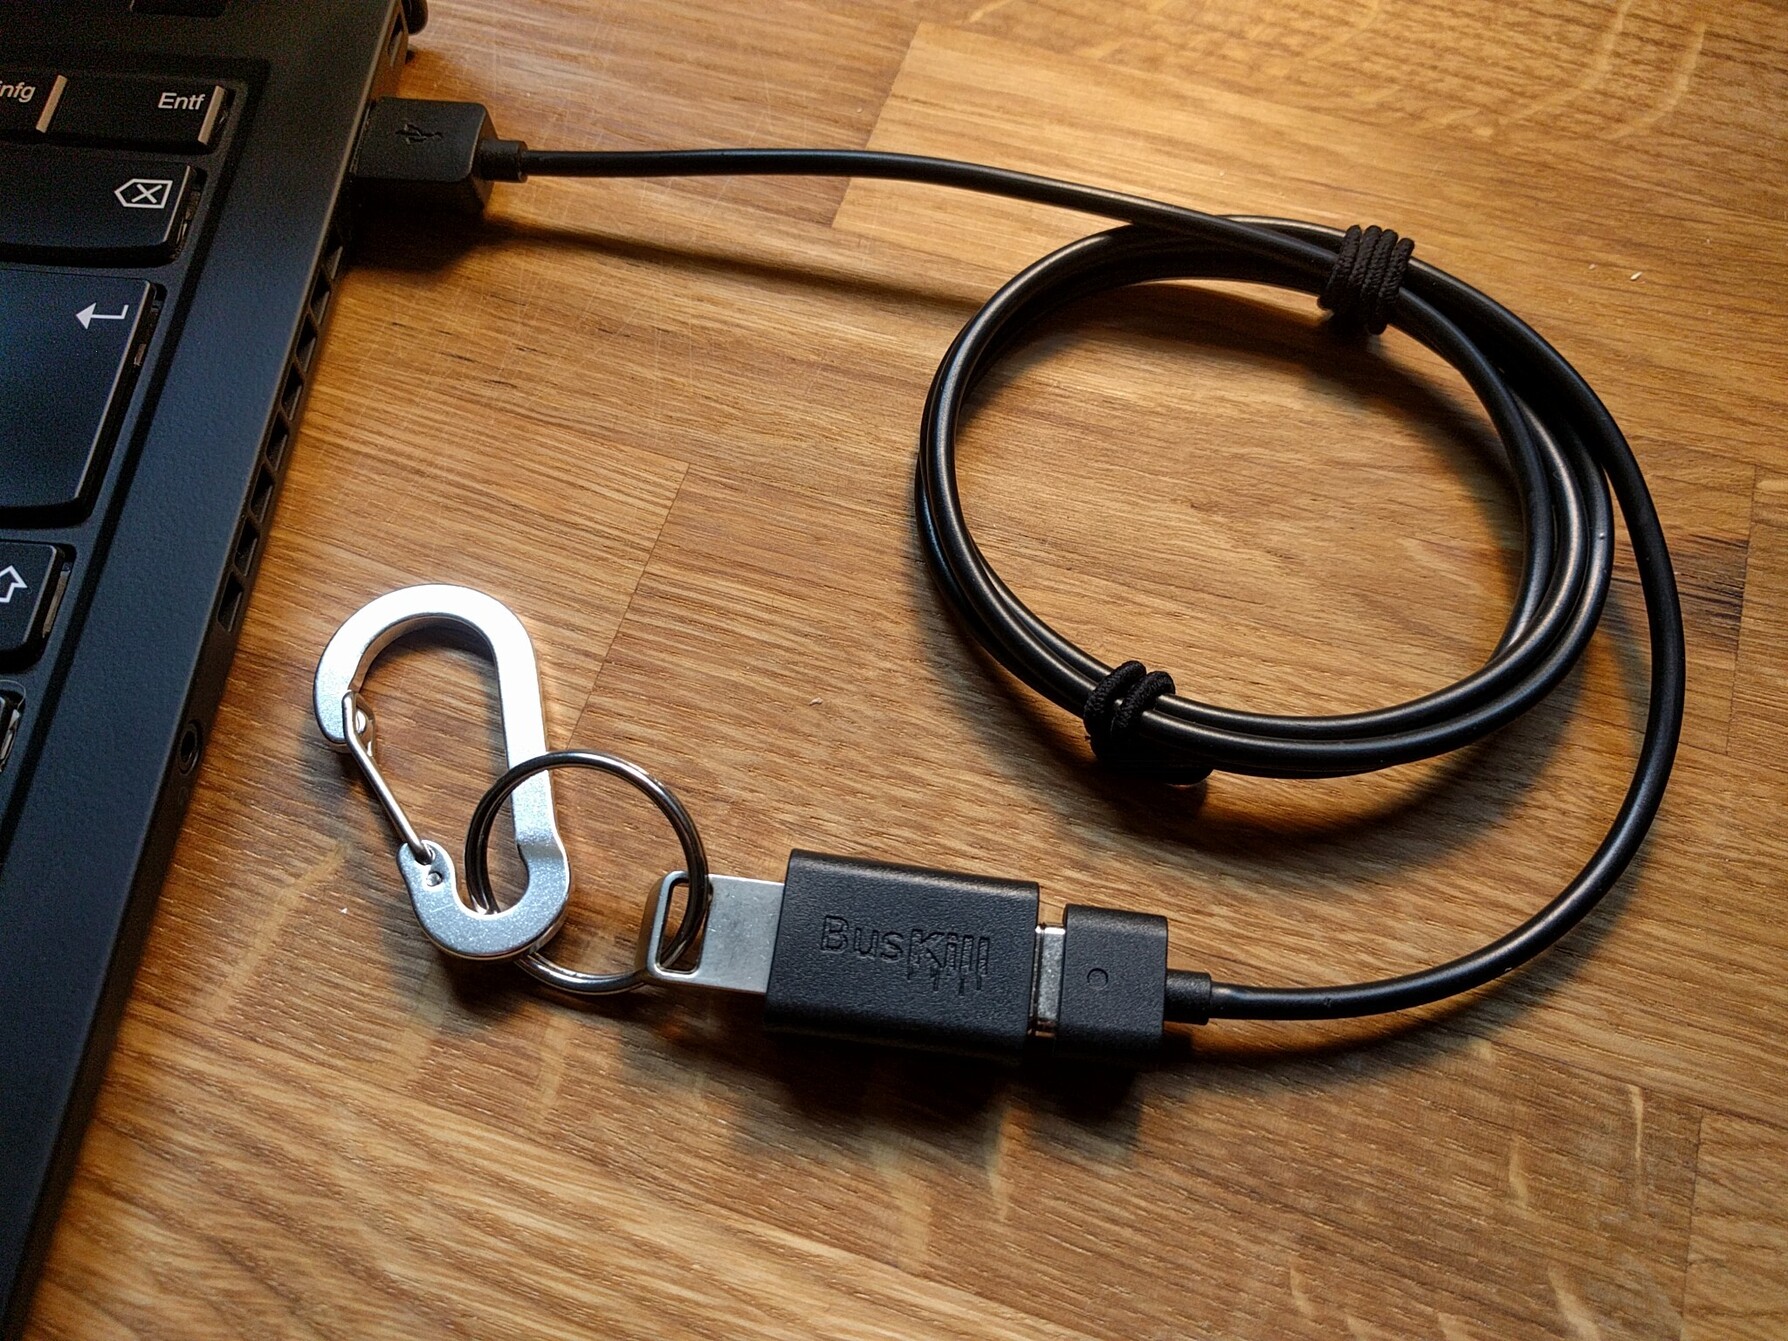
If you haven’t yet, assemble the BusKill cable
Step 2: Plug Into Computer
Plug the assembled BusKill Cable (with the USB drive attached through the Magnetic breakaway) into your computer
Note
By plugging in the USB Storage Drive into the computer via the magnetic breakaway cable (as opposed to plugging the USB Storage Drive directly into the machine), you also verify the functionality of the cable’s pinout.
Step 3: Format
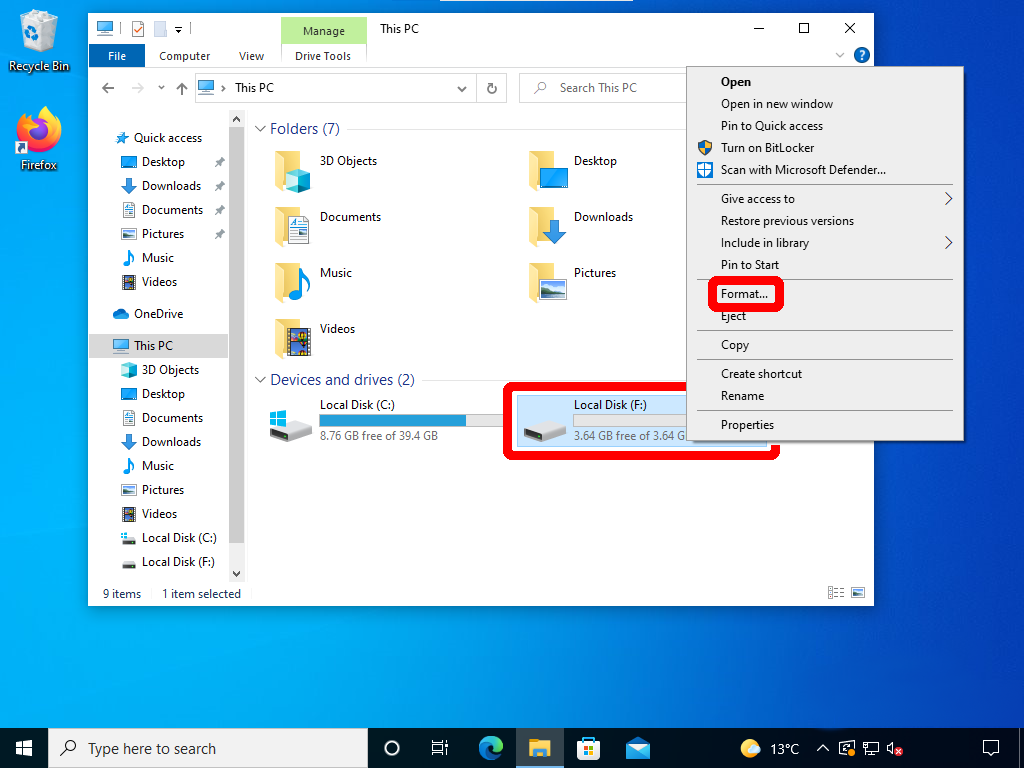
Open Windows Explorer (Start -> File Explorer)

Click on “This PC”

Under Devices and drives, right-click on the USB drive and choose Format
Warning
Make absolutely sure you’ve selected the correct drive!!
If you select the wrong drive, it may result in irrevocable deletion of all your data!
If you’re not sure, unplug the BusKill cable and plug it back in again. The drive will disappear and reappear. Make absolutely sure you’re choosing the BusKill USB Storage Drive before proceeding with the format.
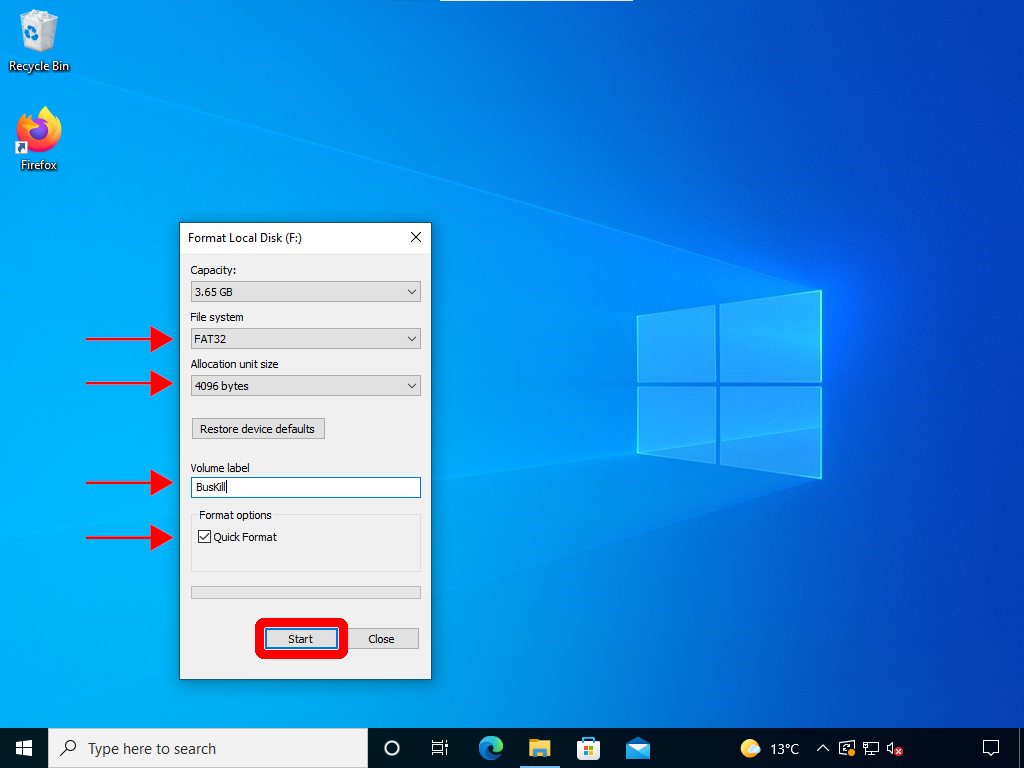
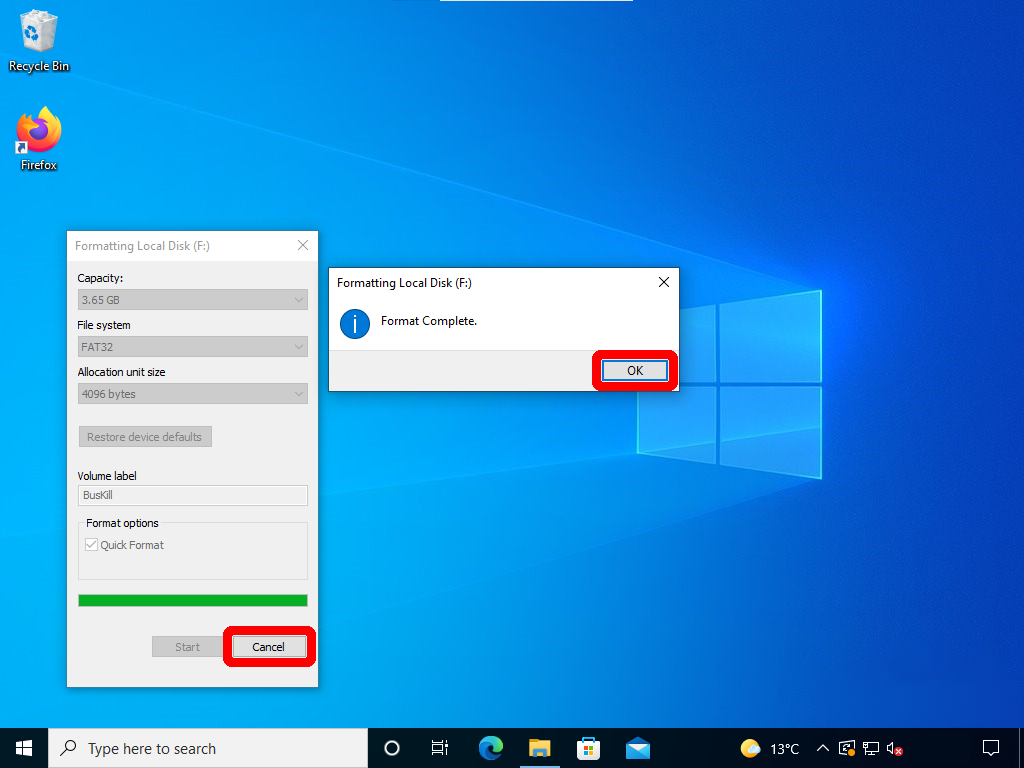
In the new window:
Set the
File systemtoFAT32Leave the
Allocation unit sizeat the default4096 bytesFor
Volume label, typeBusKillLeave the
Quick Formatoption checkedClick
Start
Note
Make sure the Volume label is BusKill with an upper-case B and K – not Buskill nor buskill.
Double-check that you’ve selected the correct drive before clicking OK in the WARNING prompt. If you proceed with formatting the wrong drive, it will immediately lead to loss of all your data on that drive.
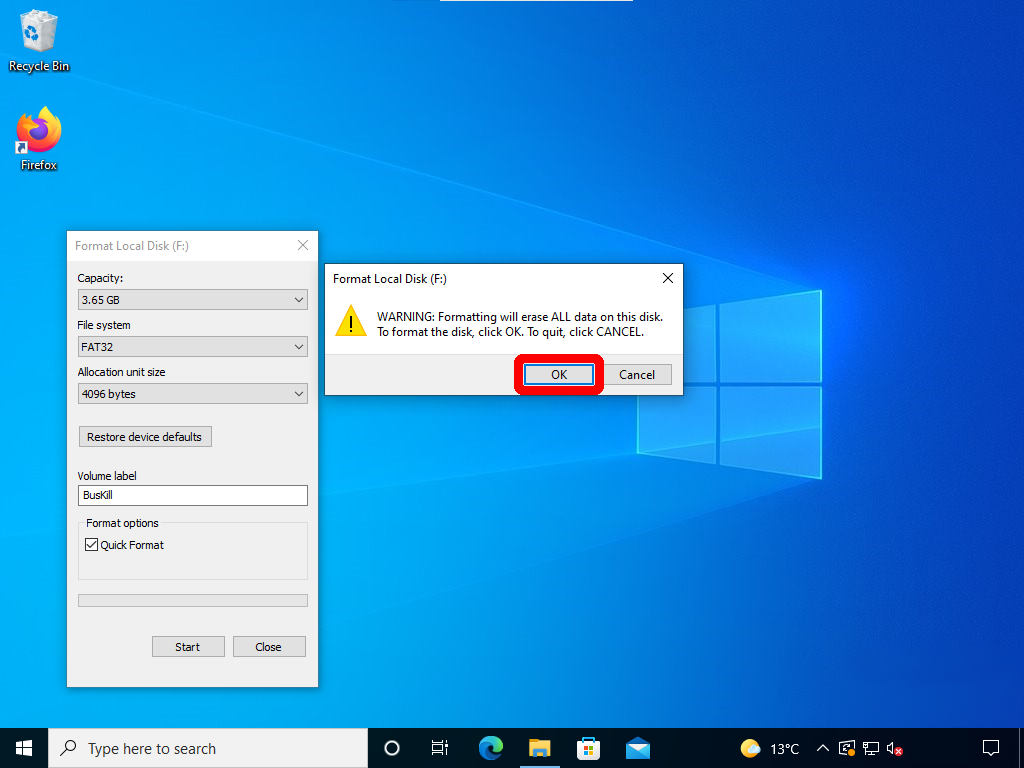
After the format completes, close the windows.
In the File Explorer, you should now see a drive named BusKill
Step 4: Download, Verify, Extract Archive
Note
You only need to do this step once. If you’ve already downloaded, verified, and extracted the archive to your computer, then skip this step
You should have already received:
A download link to the “usbRoot” compressed archive and
A SHA256 Hash for this file
Download the archive using the provided link and put it in your Downloads folder. This archive contains the files that will be extracted onto the newly formatted USB Storage Drive.
Note
Advanced users can build the .zip archive themselves using docker by checking out the git repo and executing the following script.
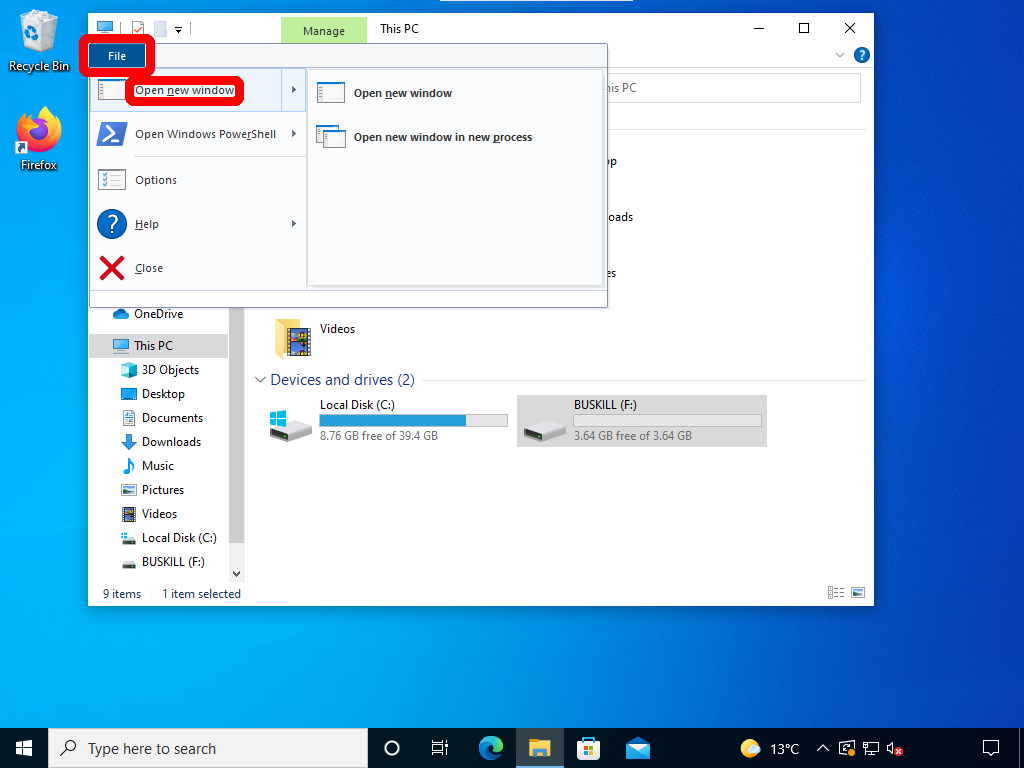
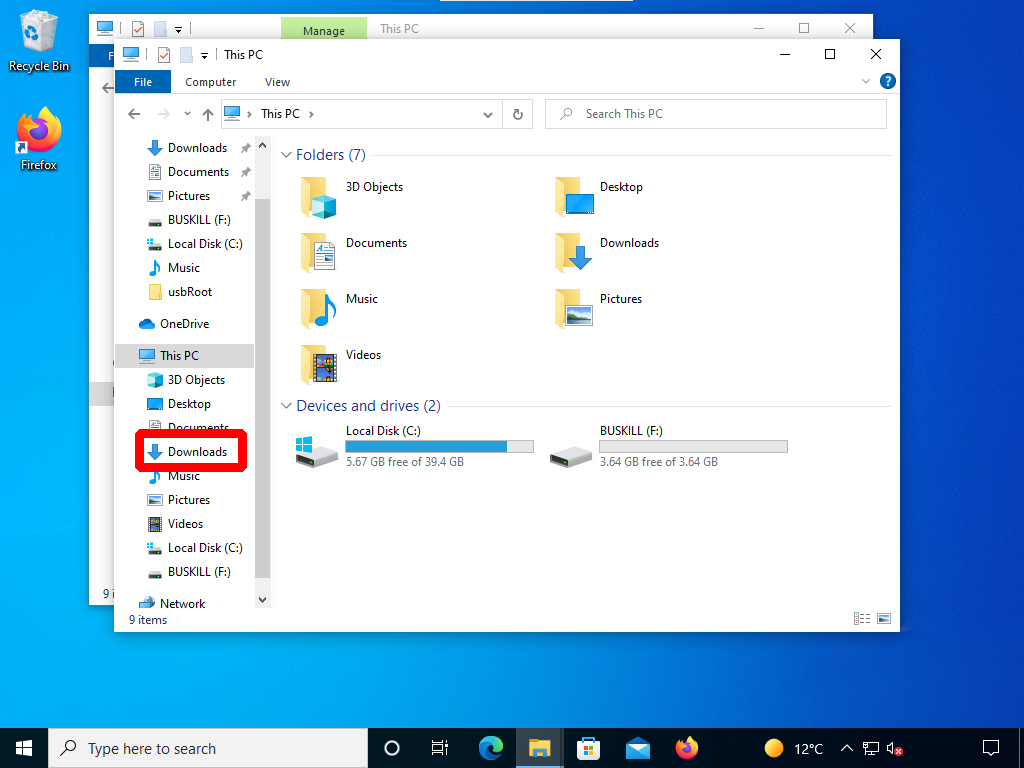
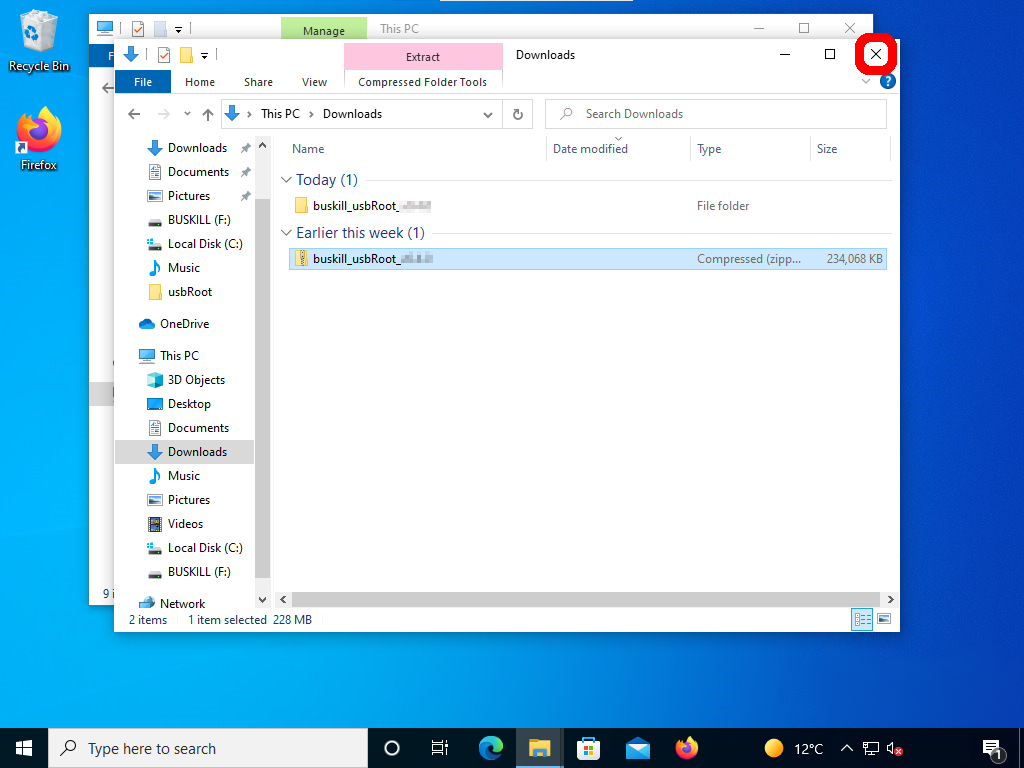
Open a new File Explorer Window (File -> New Window) and open your Downloads folder. Find the .zip archive.
|
|
|
Before extracting the archive’s contents, check the integrity of the compressed archive via its SHA256 checksum. This is the “hash” or “checksum” that you should have received with the download link.
Check the integrity of the archive in PowerShell (Start -> Windows PowerShell).
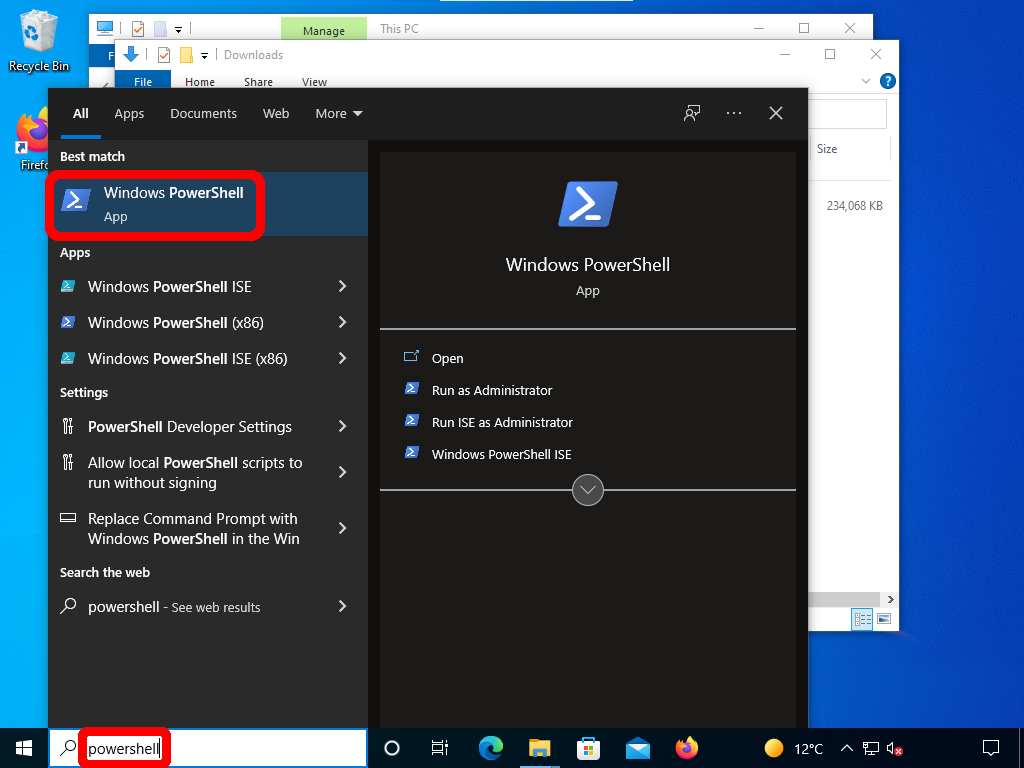
Type the following command:
Get-FileHash Downloads\buskill*.zip
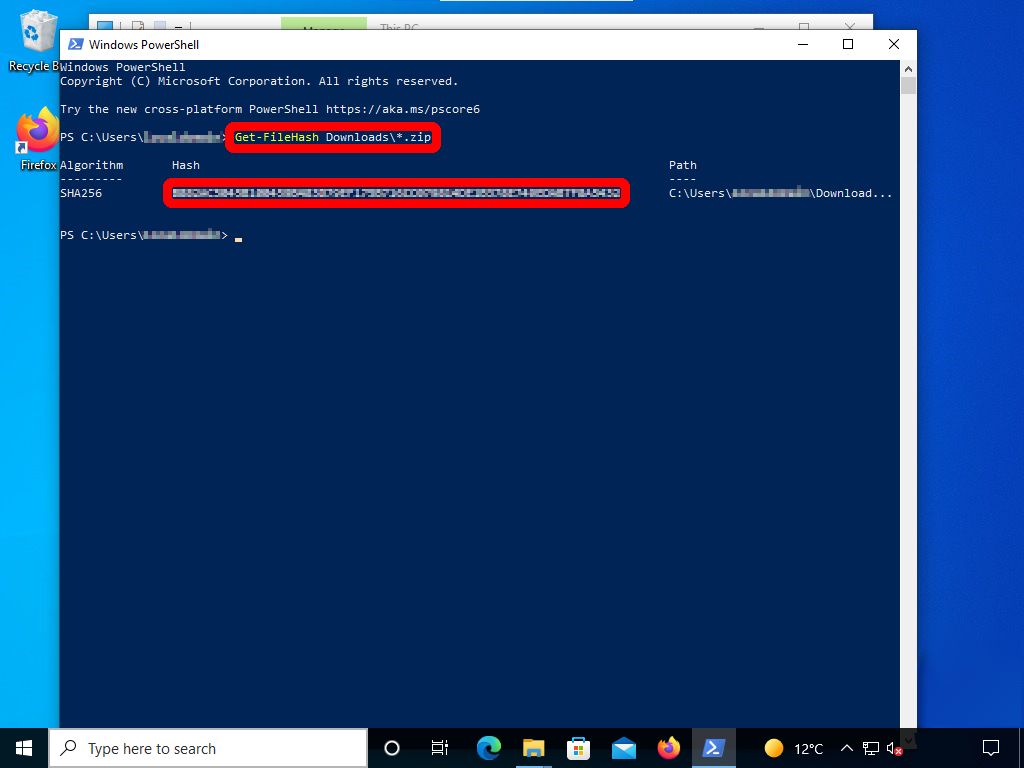
Check that the Hash exactly matches the hash provided along with the download link.
Warning
Do not proceed if the hash doesn’t match.
If the hash does not match, it’s an indication that the compressed archive is corrupted. This means the software won’t work for the customer, so this is a critical QA step.
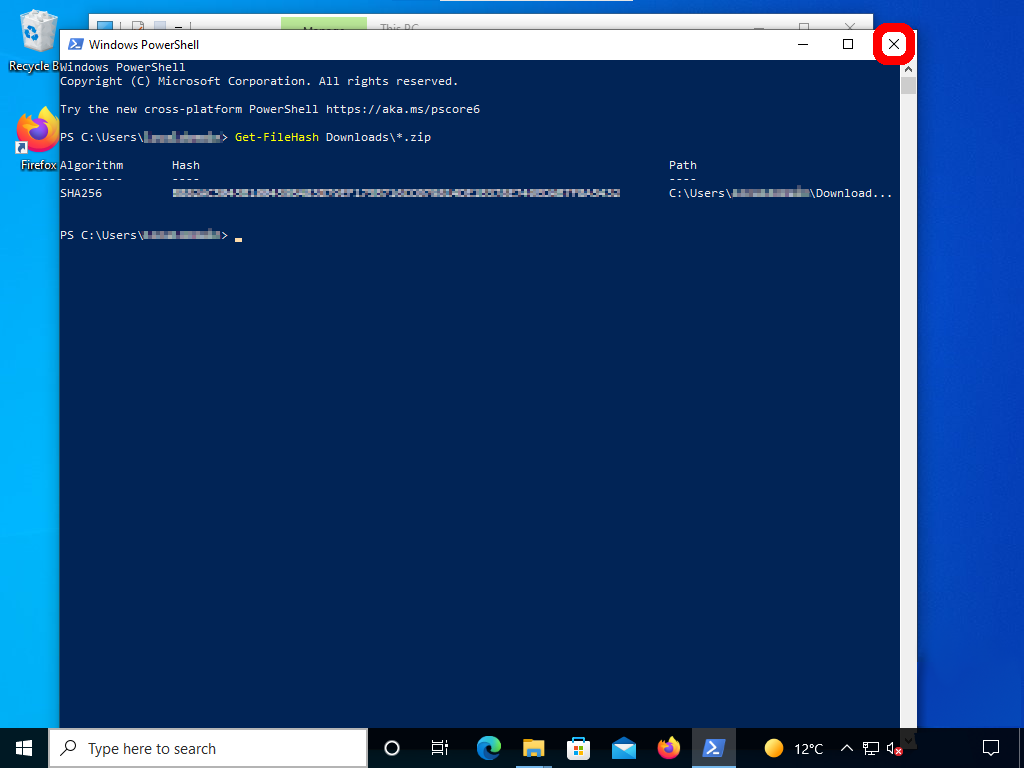
If the hash matches, close the PowerShell window and extract its contents.
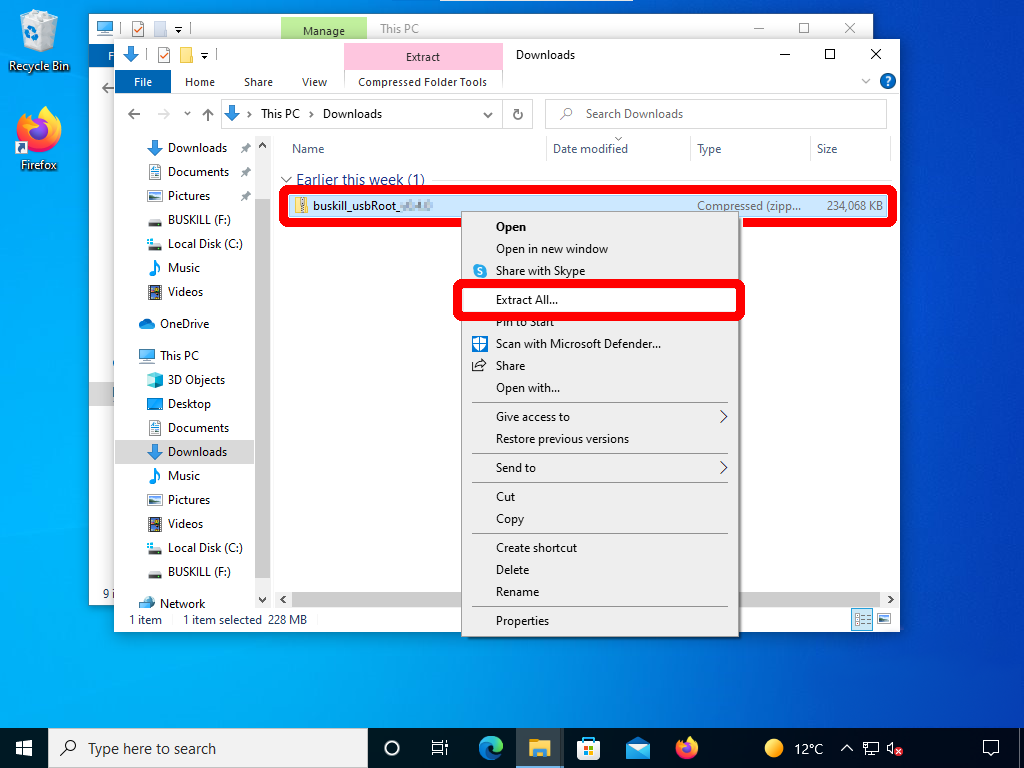
Right-click on the archive and click Extract All...
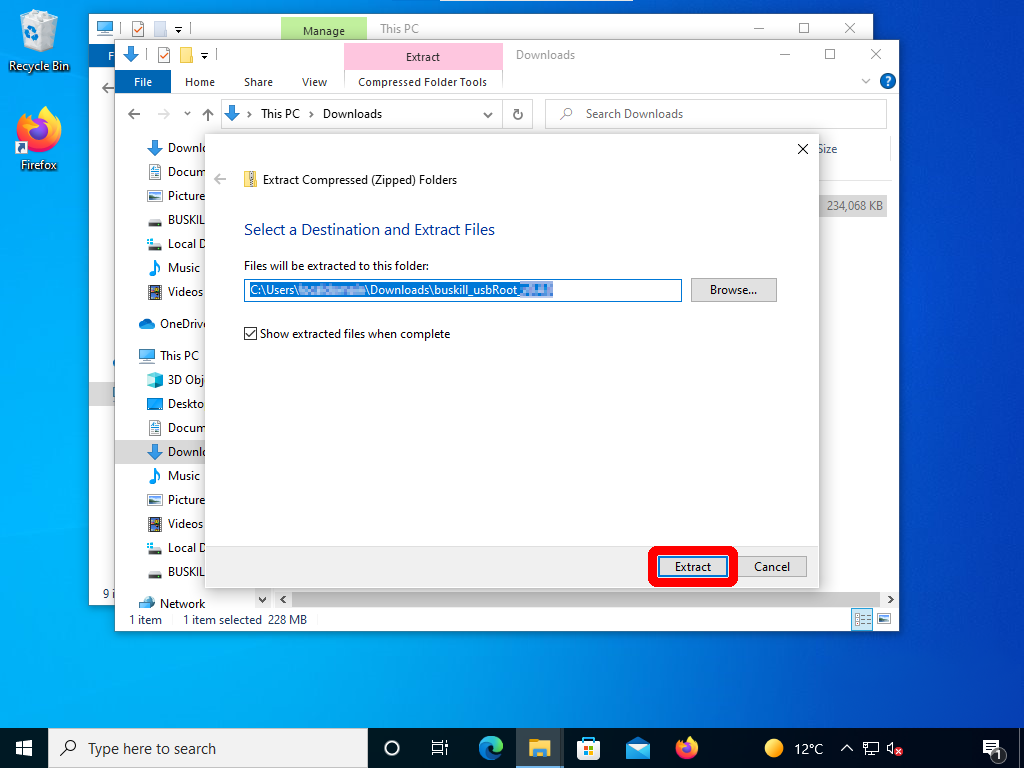
Click Extract
Step 4: Copy Files
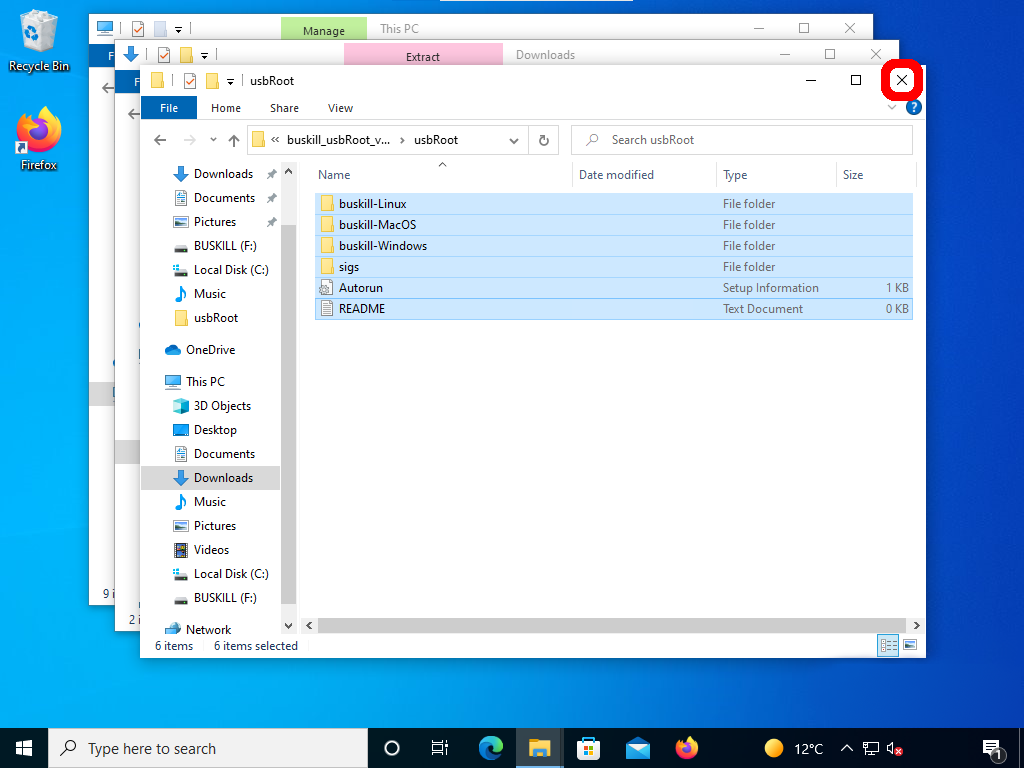
In the extracted archive’s directory, enter the usbRoot directory.
Double-click usbRoot
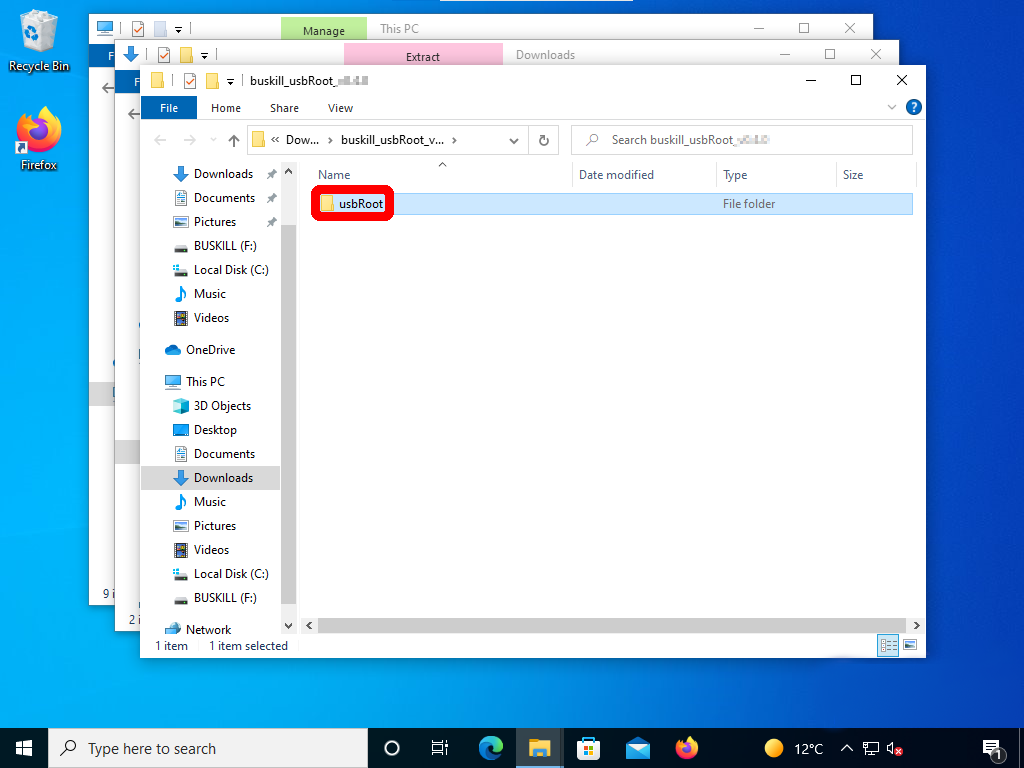
Note
Do not copy the usbRoot folder to the USB Storage Drive. Copy the contents of the usbRoot folder to the USB Storage Drive.
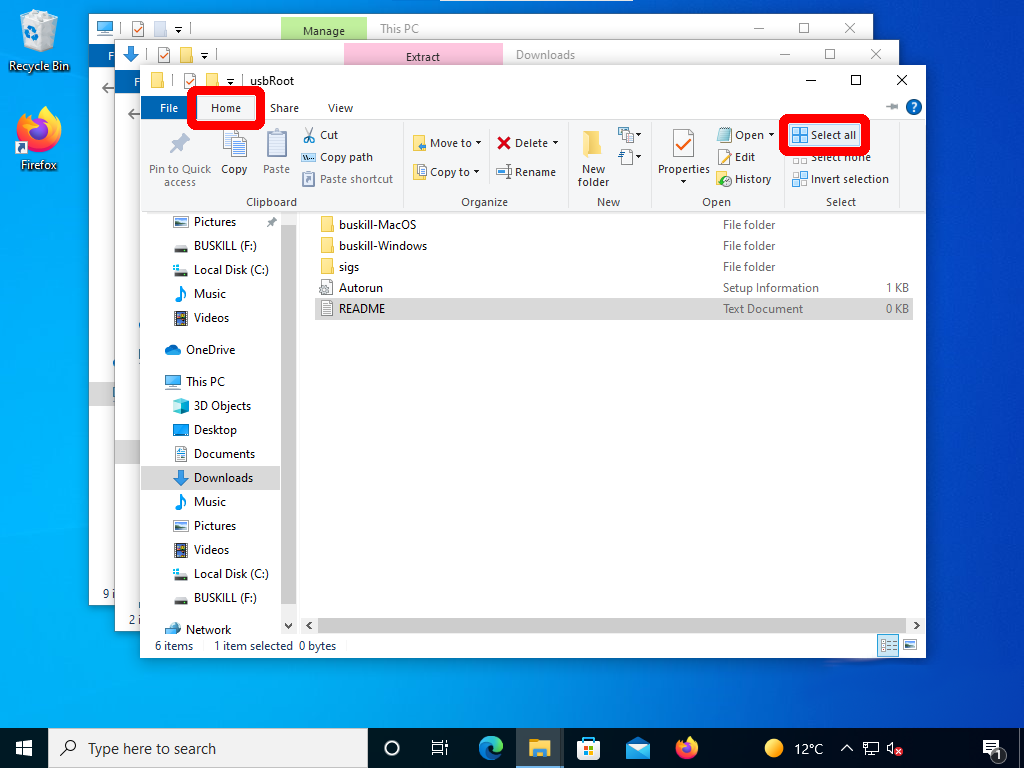
Click Home -> Select All
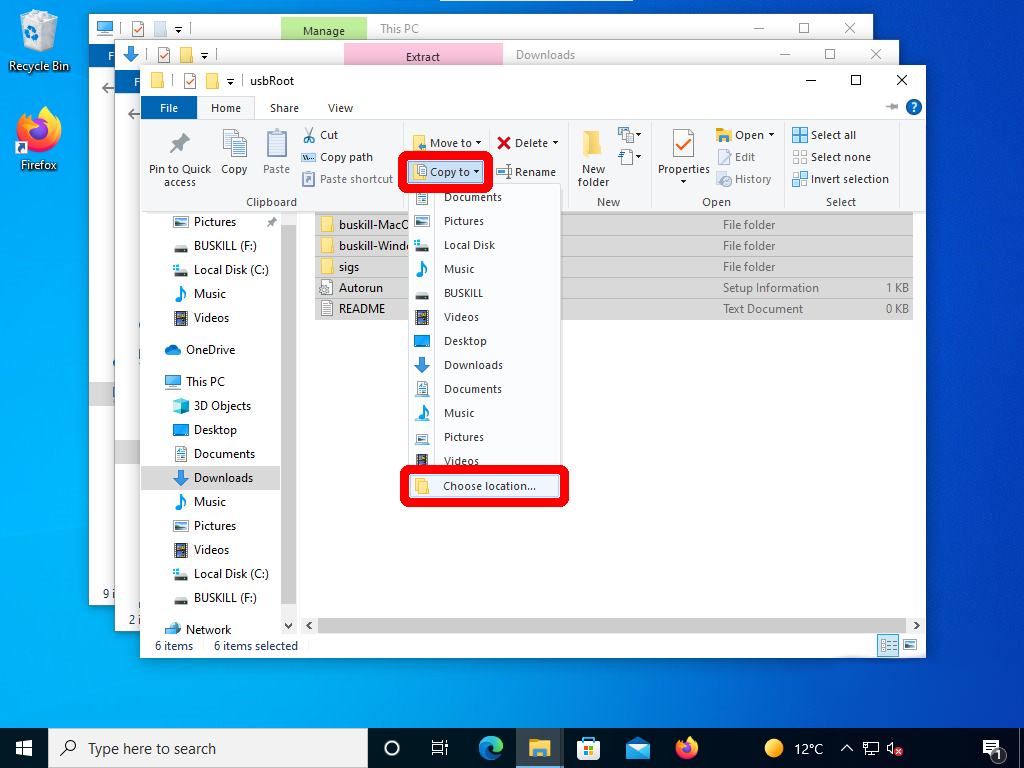
Click Home -> Copy to -> Choose location...
Under This PC select the BUSKILL USB Storage Drive and click Copy
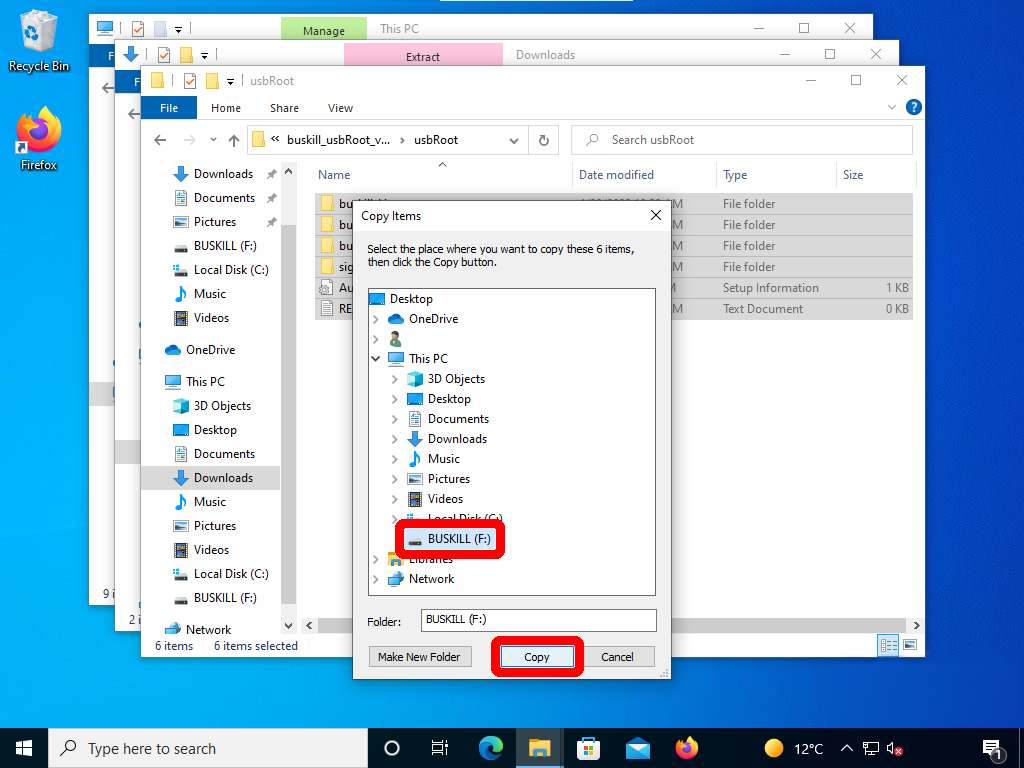
When the copy finishes, close the top two File Explorer windows
|
|
Step 4: Safely Eject
Right-click on the BUSKILL USB Storage Drive and click Eject
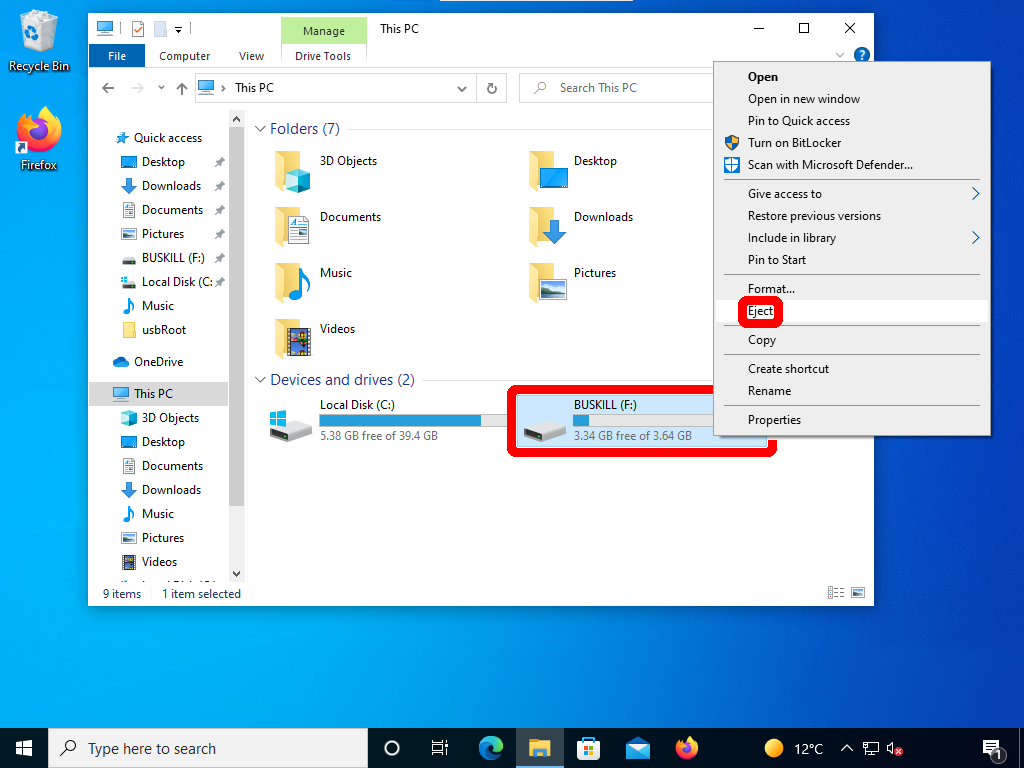
Warning
Do not simply remove the USB Storage Drive from your computer without first ejecting it as shown above!!
Physically removing the drive from the computer before clicking Eject can cause data to not be written, even after the copy finishes successfully.
If the data isn’t fully written to the disk before it’s removed, the software on the USB Storage Drive could be corrupt. This means the software won’t work for the customer, so this is a critical QA step.
Wait until the drive disappears from the File Explorer window.
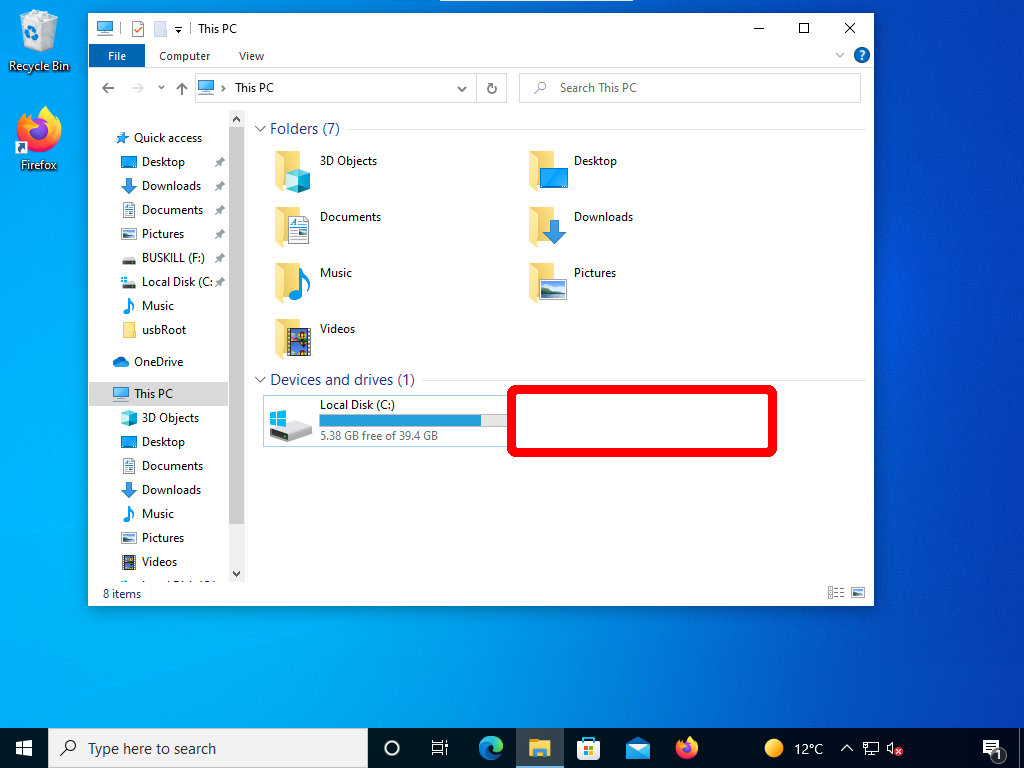
After the drive is no longer visible, physically remove the USB Storage Drive.
Step 5: Verify Integrity
Plug the BusKill Cable into the computer again.
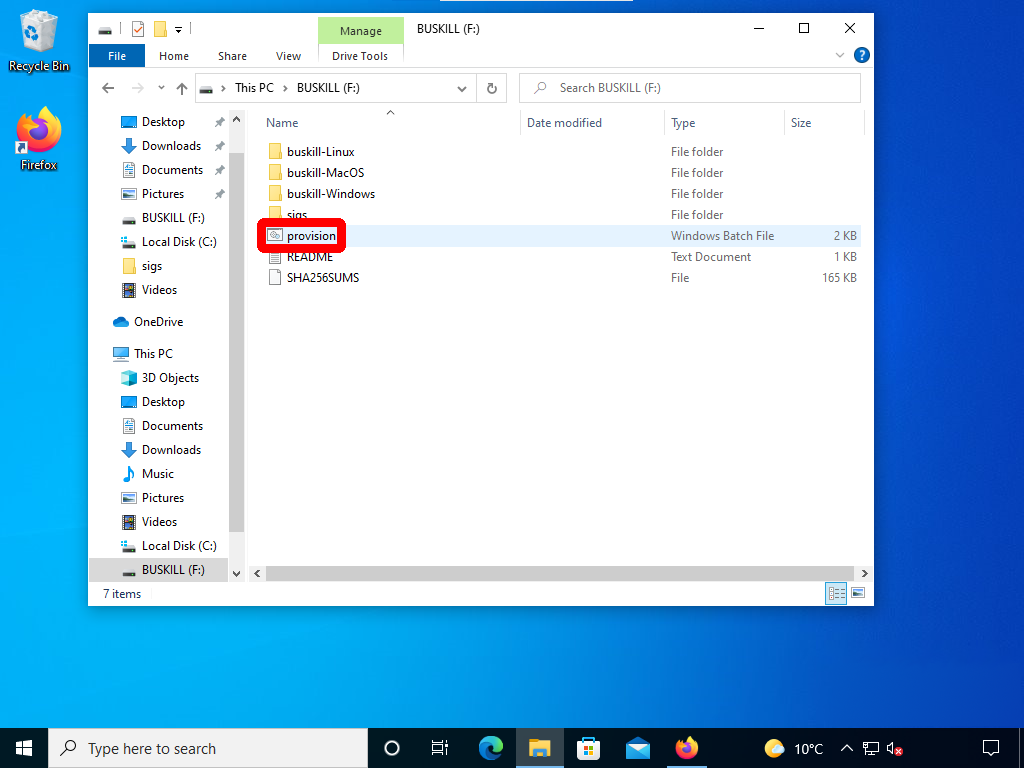
Double-click the BUSKILL drive when it appears
Double-click provision
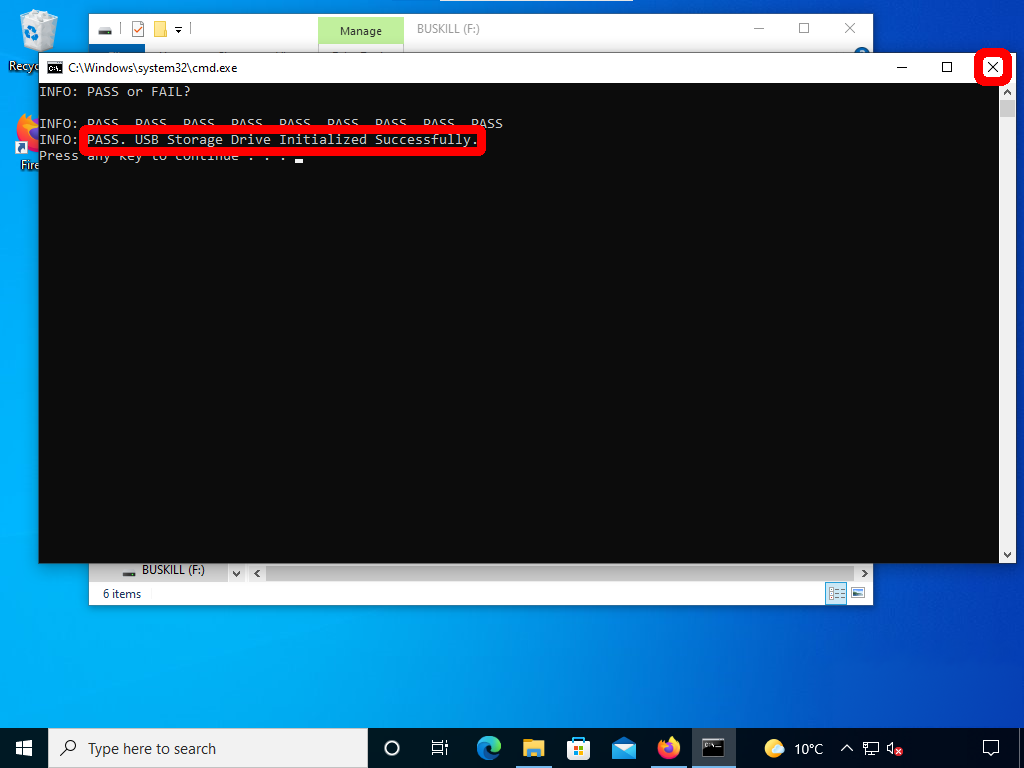
If the window says FAIL, then something is wrong with the drive. Go back to the Format step above and retry.
If the window says PASS then everything worked. Close the command prompt window and safely eject the drive.
|
|
After the drive is no longer visible, physically remove the USB Storage Drive.
Linux
TODO
MacOS
TODO